
Build the Ultimate Wall Mounted Pressure Washer Setup (DIY vs. All-in-One)
By Pro Garage Gear Team Last Updated: December 2025
Disclosure: This post contains affiliate links. We may earn a commission if you purchase through these links. We recommend setups that actually last.
The biggest friction in washing your car isn’t the washing. It’s the setup.
You have to drag the pressure washer out of the corner, unravel the tangled high-pressure hose, find the extension cord, hook up the garden hose, and trip over everything twice before you even spray a drop of water.
By the time you are set up, you don’t even want to wash the car anymore.
The solution is the Wall-Mounted Wash Bay.
| Image | Product Name | Best For… | GPM (Flow) | Check Price |
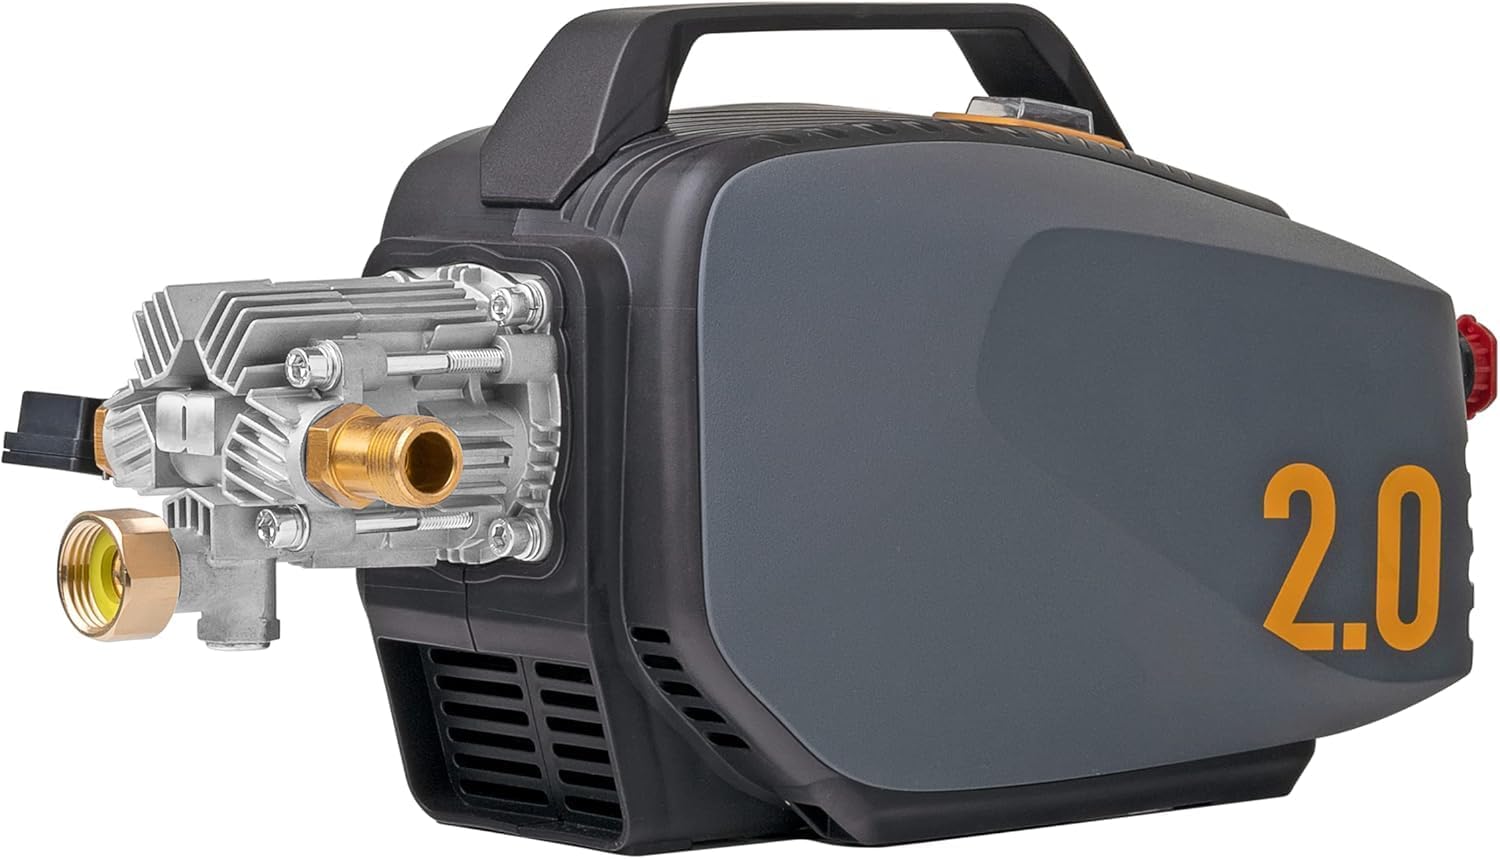 | Active 2.0 | 🏆 #1 Choice | 2.0 GPM | Check Price |
 | Giraffe Grandfalls | Best Wall Mount | 1.3 GPM | Check Price |
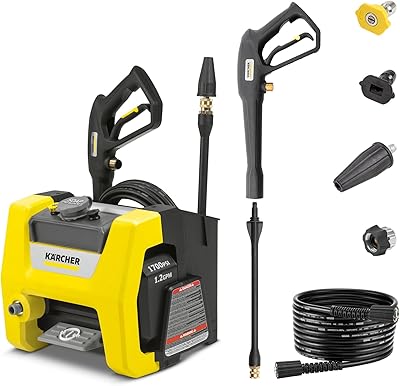 | Karcher Cube | Budget Pick | 1.2 GPM | Check Price |
Imagine walking into your garage, pulling a gun off the wall, pulling the hose, and spraying instantly. When you’re done, the hose retracts automatically. No dragging, no tangles, no mess.
Here is how to build the ultimate garage wash setup in 2025, whether you want a “Plug-and-Play” unit or a custom professional rig.
Option 1: The “Easy Button” (All-in-One Units)
If you don’t want to mess with plumbing, shelving, and jumper hoses, this is the route for you. In the last two years, companies have finally realized we want wall-mounted units out of the box.
The Winner: Giraffe Tools Grandfalls P115
Giraffe Tools completely disrupted the market with this unit. It is currently the only reliable “All-in-One” system designed specifically for home garages.
- What it is: It is a pressure washer and a 100ft retractable hose reel built into one sleek grey shell.
- The Specs: It pushes roughly 2000 PSI at 1.2 GPM. It’s plenty for washing cars, cleaning driveways, and rinsing siding.
- Installation: You screw the mounting bracket into two wall studs, hang the unit, and plug it in. That’s it.
- The Verdict: It is the cleanest looking setup on the market. If you care about aesthetics and simplicity, buy this.

Option 2: The “Pro Custom” Build (DIY)
If you want better performance (higher water flow) and the ability to upgrade parts later, you should build your own rig.
This requires buying three separate components and connecting them. It looks more “industrial” and performs like a professional detail shop.
The 3 Components You Need:
1. The Machine: Active 2.0
We recommended this in our Best Pressure Washer article. Because it is small and rectangular, it sits perfectly on a shelf.
- Why: 2.0 GPM flow rate (better than the Giraffe).
- Mounting: Place it on a heavy-duty stainless steel shelf (like an IKEA Grillskär or a dedicated wall shelf).
2. The Reel: Coxreels or Eley
You need a separate hose reel mounted under or next to the shelf.
- Premium Pick: Coxreels Hand Crank. It’s industrial blue steel. It will outlast your house.
- Budget Pick: General Pump Retractable Reel. Good quality for weekend warriors.
3. The Hose: 50ft Uberflex
Do not use stiff plastic hoses. You need a 50ft Kink-Resistant Hose (Uberflex or Flexzilla) to load onto your reel.
The Plumbing Diagram: How to Connect It
Many people get scared by the connections. It is actually very simple. Here is the flow of water:
- Water Source (Spigot) -> Garden Hose -> Pressure Washer Inlet.
- Pressure Washer Outlet -> 3ft “Jumper Hose” -> Hose Reel Inlet.
- Hose Reel -> 50ft High-Pressure Hose -> Spray Gun.
Crucial Part: You will need a “Jumper Hose” (a short 2-3 ft high-pressure hose) to bridge the gap between your washer sitting on the shelf and the reel mounted on the wall.
The Essential Upgrades for Both Setups
Whether you buy the Giraffe or build a custom Active 2.0 rig, you absolutely must add these two upgrades to make the system usable.
1. Quick Connects (The “Click” System)
Stop screwing hoses on and off. Buy a Stainless Steel Quick Connect Kit (M22 to 3/8″).
- Put a “Female” coupler on your spray gun.
- Put a “Male” plug on your hose end.
- Now you can snap the gun on and off in 1 second.
2. The Swivel Gun
As mentioned in our previous reviews, the long wand is clumsy indoors. Replace it with a Stubby Gun that has a built-in “Live Swivel.”
- Why: The swivel allows the gun to rotate without twisting the hose. This prevents the “fighting the snake” feeling when you walk around your car.
Installation Warning: Studs Matter
Do not use drywall anchors.
A pressure washer vibrates. A hose reel gets yanked on. If you mount these into drywall anchors, they will rip out of the wall and crash onto your car.
- Find the Studs: Use a magnetic stud finder to locate the center of your wood studs.
- Use Lags: Use 2.5-inch or 3-inch lag bolts to secure the mounts.
- Backer Board (Pro Tip): If your studs don’t line up where you want the washer, screw a piece of 3/4″ plywood into the studs first, then mount the washer and reel anywhere you want on the plywood. Paint the plywood black or grey to match your garage.
Final Verdict
- The “I just want it to work” Buyer: Get the Giraffe Tools Grandfalls. It’s one box, one install, and it looks beautiful.
- The “Performance” Buyer: Buy an Active 2.0, a wall shelf, and a separate hose reel. You get more water flow and a system you can repair piece-by-piece.
Once you go wall-mount, you never go back.
If you use a custom shelf, make sure it is heavy duty compliance.